When you share a link on social media platforms like Twitter, LinkedIn, or Facebook, the platform fetches a preview image called an Open Graph (OG) image. These images are crucial for engagement - they catch the eye, convey context, and make your content stand out in crowded feeds.
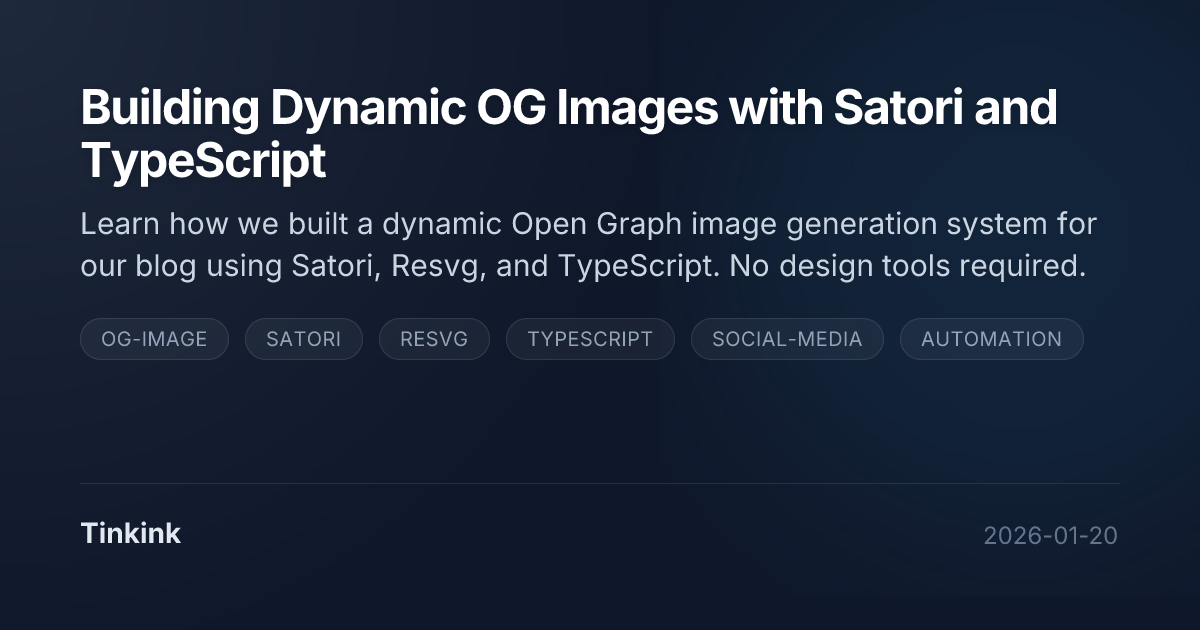
For example, the OG image url for this post is: https://tink.ink/blog/og/building-dynamic-og-images-with-satori.png:
Most developers either manually design these images in tools like Figma or use static templates. But what if you could generate them automatically, dynamically, and programmatically? That’s exactly what we built for the Tinkink blog.
In this post, I’ll walk through how we implemented a dynamic OG image generation system using Satori, Resvg, and TypeScript. No design tools required.
The Challenge
We wanted OG images that:
- Automatically reflect each blog post’s title, description, date, and tags
- Maintain consistent branding across all posts
- Generate during the build process without manual intervention
- Look professional and modern
The traditional approach would be to:
- Design a template in Figma
- Manually update text for each post
- Export as PNG
- Upload to the server
This is tedious, error-prone, and doesn’t scale. We needed something automated.
Enter Satori
Satori is a library that converts HTML and CSS to SVG. It’s the same technology Vercel uses to generate OG images for Vercel deployments. The beauty of Satori is that you write your layout using familiar HTML/CSS concepts, and it handles the complex SVG rendering.
Satori uses a React-like API where you define your layout as virtual DOM nodes. It then converts this to SVG, which can be rasterized to PNG using a library like Resvg.
Architecture Overview
Our OG image generation system consists of four main components:
- og.ts - The main generation logic using Satori and Resvg
- og-template.ts - The visual template definition
- og-styles.ts - CSS styles for the template
- build.ts - Integration with the blog build process
Here’s how it flows:
Blog Post Data → Template → Satori → SVG → Resvg → PNG
The Template System
We created a template system that defines the visual structure of our OG images. The template is built using a helper function that creates virtual DOM nodes:
function h(type: string, props: Record<string, any> = {}, ...children: (string | object)[]) {
  const style = { ...props.style };
  if (!style.display) {
    style.display = 'flex';
  }

  return {
    type,
    props: {
      ...props,
      style,
      children: children.flat().filter(c => c != null && c !== false)
    },
  };
}
This simple helper function creates a React-like element structure that Satori can understand. It automatically adds display: flex to elements that have children, which is a requirement for Satori’s layout engine.
The template itself is composed of several sections:
export function getOgTemplate(title: string, description: string, date: string, tags: string[] = []) {
  return h('div', { style: styles.container },
    h('div', { style: styles.backgroundDecoration }),
    h('div', { style: styles.contentWrapper },
      h('div', { style: styles.topSection },
        h('div', { style: styles.title }, title),
        h('div', { style: styles.description }, description),
        h('div', { style: styles.tagsWrapper },
          ...tags.map(tag => h('div', { style: styles.tag }, tag))
        )
      ),
      h('div', { style: styles.footer },
        h('div', { style: styles.brandWrapper },
          h('div', { style: styles.brandName }, 'Tinkink')
        ),
        h('div', { style: styles.date }, date)
      )
    )
  );
}
The template includes:
- A decorative background blob for visual interest
- The blog post title (prominent, large text)
- A description (smaller, supporting text)
- Tags displayed as pill-shaped badges
- A footer with the brand name and publication date
You can also use JSX, but take care of compiling process.
Styling with CSS
One of the best things about Satori is that you use regular CSS for styling. We defined our styles in a separate file:
export const styles = {
  container: {
    display: 'flex',
    flexDirection: 'column',
    width: '1200px',
    height: '630px',
    backgroundColor: '#0F172A',
    backgroundImage: 'radial-gradient(circle at 0% 0%, #1E293B 0%, #0F172A 50%)',
    padding: '80px',
    justifyContent: 'space-between',
    fontFamily: 'Inter',
    color: '#F8FAFC',
    position: 'relative',
    overflow: 'hidden',
  },
  title: {
    display: 'flex',
    fontSize: '48px',
    fontWeight: 800,
    color: '#ffffff',
    lineHeight: 1.1,
    marginBottom: '16px',
    letterSpacing: '-0.03em',
    textShadow: '0 2px 10px rgba(0,0,0,0.2)',
  },
  // ... more styles
};
The standard OG image size is 1200x630 pixels, which is what most social media platforms expect. We use a dark theme with slate colors, which matches our blog’s design language.
Note: Not all CSS properties are supported by Satori. The library supports a subset of CSS focused on layout and typography. Check the Satori documentation for the full list of supported properties.
Font Loading
Satori requires fonts to be provided as Buffer objects. We use the Inter font family, which is a popular open-source font. The font loading logic handles local font files (installed by npm), and uses a remote url loading as fallback:
async function getFont(weight: number = 400) {
  if (weight === 700 && boldFontData) return boldFontData;
  if (weight === 400 && fontData) return fontData;

  const fontName = weight === 700 ? 'inter-latin-700-normal' : 'inter-latin-400-normal';

  try {
    const filesDir = path.resolve('node_modules/@fontsource/inter/files');
    if (fs.existsSync(filesDir)) {
      const files = fs.readdirSync(filesDir);
      const searchString = weight === 700 ? 'latin-700-normal' : 'latin-400-normal';
      const fontFile = files.find(f => f.includes(searchString) && (f.endsWith('.ttf') || f.endsWith('.woff')));
      if (fontFile) {
        const data = fs.readFileSync(path.join(filesDir, fontFile));
        if (weight === 700) boldFontData = data;
        else fontData = data;
        return data;
      }
    }
    throw new Error('Local font not found');
  } catch (e) {
    console.warn(`Failed to load local font ${weight}, trying fetch...`);
    const url = weight === 700
      ? 'https://cdn.jsdelivr.net/fontsource/fonts/inter@latest/latin-700-normal.ttf'
      : 'https://cdn.jsdelivr.net/fontsource/fonts/inter@latest/latin-400-normal.ttf';
    const response = await fetch(url);
    if (!response.ok) throw new Error('Failed to fetch font');
    const arrayBuffer = await response.arrayBuffer();
    const data = Buffer.from(arrayBuffer);
    if (weight === 700) boldFontData = data;
    else fontData = data;
    return data;
  }
}
The function first tries to load the font from local node_modules, which is faster and more reliable. If that fails, it falls back to fetching from a CDN. We cache the font data to avoid repeated loads.
Generating the Image
The main generation function brings everything together:
export async function generateOgImage(title: string, description: string, date: string, tags: string[] = []): Promise<Buffer> {
  const fontRegular = await getFont(400);
  const fontBold = await getFont(700);

  const element = getOgTemplate(title, description, date, tags);

  const svg = await satori(element as any, {
    width: 1200,
    height: 630,
    fonts: [
      {
        name: 'Inter',
        data: fontRegular,
        weight: 400,
        style: 'normal',
      },
      {
        name: 'Inter',
        data: fontBold,
        weight: 700,
        style: 'normal',
      },
    ],
  });

  const resvg = new Resvg(svg, {
    fitTo: {
      mode: 'width',
      value: 1200,
    },
  });

  return resvg.render().asPng();
}
The function:
- Loads the required fonts
- Creates the template with the provided data
- Converts the template to SVG using Satori
- Rasterizes the SVG to PNG using Resvg
- Returns the PNG as a Buffer
Integration with Build Process
If you are using a Node.js backend or similar runtime, you may just wrap the code into an HTTP endpoint and reference it in the page HTML head.
Well we are building a static site, we integrated the OG image generation into our blog build process. During the build, we iterate through all blog posts and generate an OG image for each:
if (options.generateImages) {
  console.log('Generating OG images...');
  await Promise.all(posts.map(async p => {
    try {
      const png = await generateOgImage(p.title, p.description, p.date, p.tags);
      assets[`blog/og/${p.slug}.png`] = png;
    } catch (e) {
      console.error(`Failed to generate OG image for ${p.slug}:`, e);
    }
  }));
}
The images are stored in the blog/og/ directory with filenames matching the post slugs. This makes it easy to reference them in the HTML templates.
Adding OG Meta Tags
Finally, we add the OG meta tags to our blog post HTML template:
<meta property="og:title" content="<%-post.title%>">
<meta property="og:description" content="<%-post.description%>">
<meta property="og:type" content="article">
<meta property="og:image" content="https://tink.ink/blog/og/<%-post.slug%>.png">
<meta property="og:url" content="https://tink.ink/blog/<%-post.slug%>.html">
<meta property="og:site_name" content="Tinkink">
<meta name="twitter:card" content="summary_large_image">
When someone shares a link to a blog post, social media platforms will fetch these meta tags and display the generated OG image.
Benefits of This Approach
This automated approach offers several advantages:
- Consistency: Every OG image follows the same design system
- Scalability: Adding a new blog post automatically generates its OG image
- Maintainability: Design changes only require updating the template
- No Design Tools: Developers can maintain the system without opening Figma
- Performance: Images are generated once during build, not on-demand
- Flexibility: Easy to customize for different content types
Performance Considerations
The generation process is fast enough for build-time use. Satori is optimized for performance, and Resvg is a Rust-based SVG renderer that’s extremely fast. In our experience, generating an image takes less than a second on modern hardware.
If you have many images to generate, you can add a cache mechanism to speed up the build process. In our case, we choose to leave it to the future.
Future Enhancements
There are several ways we could enhance this system:
- Dynamic Gradients: Generate different gradient colors based on post tags
- Branding & Author Avatars: Include branding logo & author profile pictures
- Designing: Hire a designer to help us generate better OG images.
Conclusion
Building a dynamic OG image generation system with Satori and TypeScript is surprisingly straightforward. The combination of Satori’s React-like API and CSS-based styling makes it accessible to developers without design backgrounds.
By automating OG image generation, we’ve eliminated a manual task and ensured consistent branding across all our blog posts. The system is maintainable, scalable, and integrates seamlessly with our build process.
If you’re looking to improve your blog’s social media presence without spending hours in design tools, give Satori a try. It’s a powerful tool that bridges the gap between code and design.